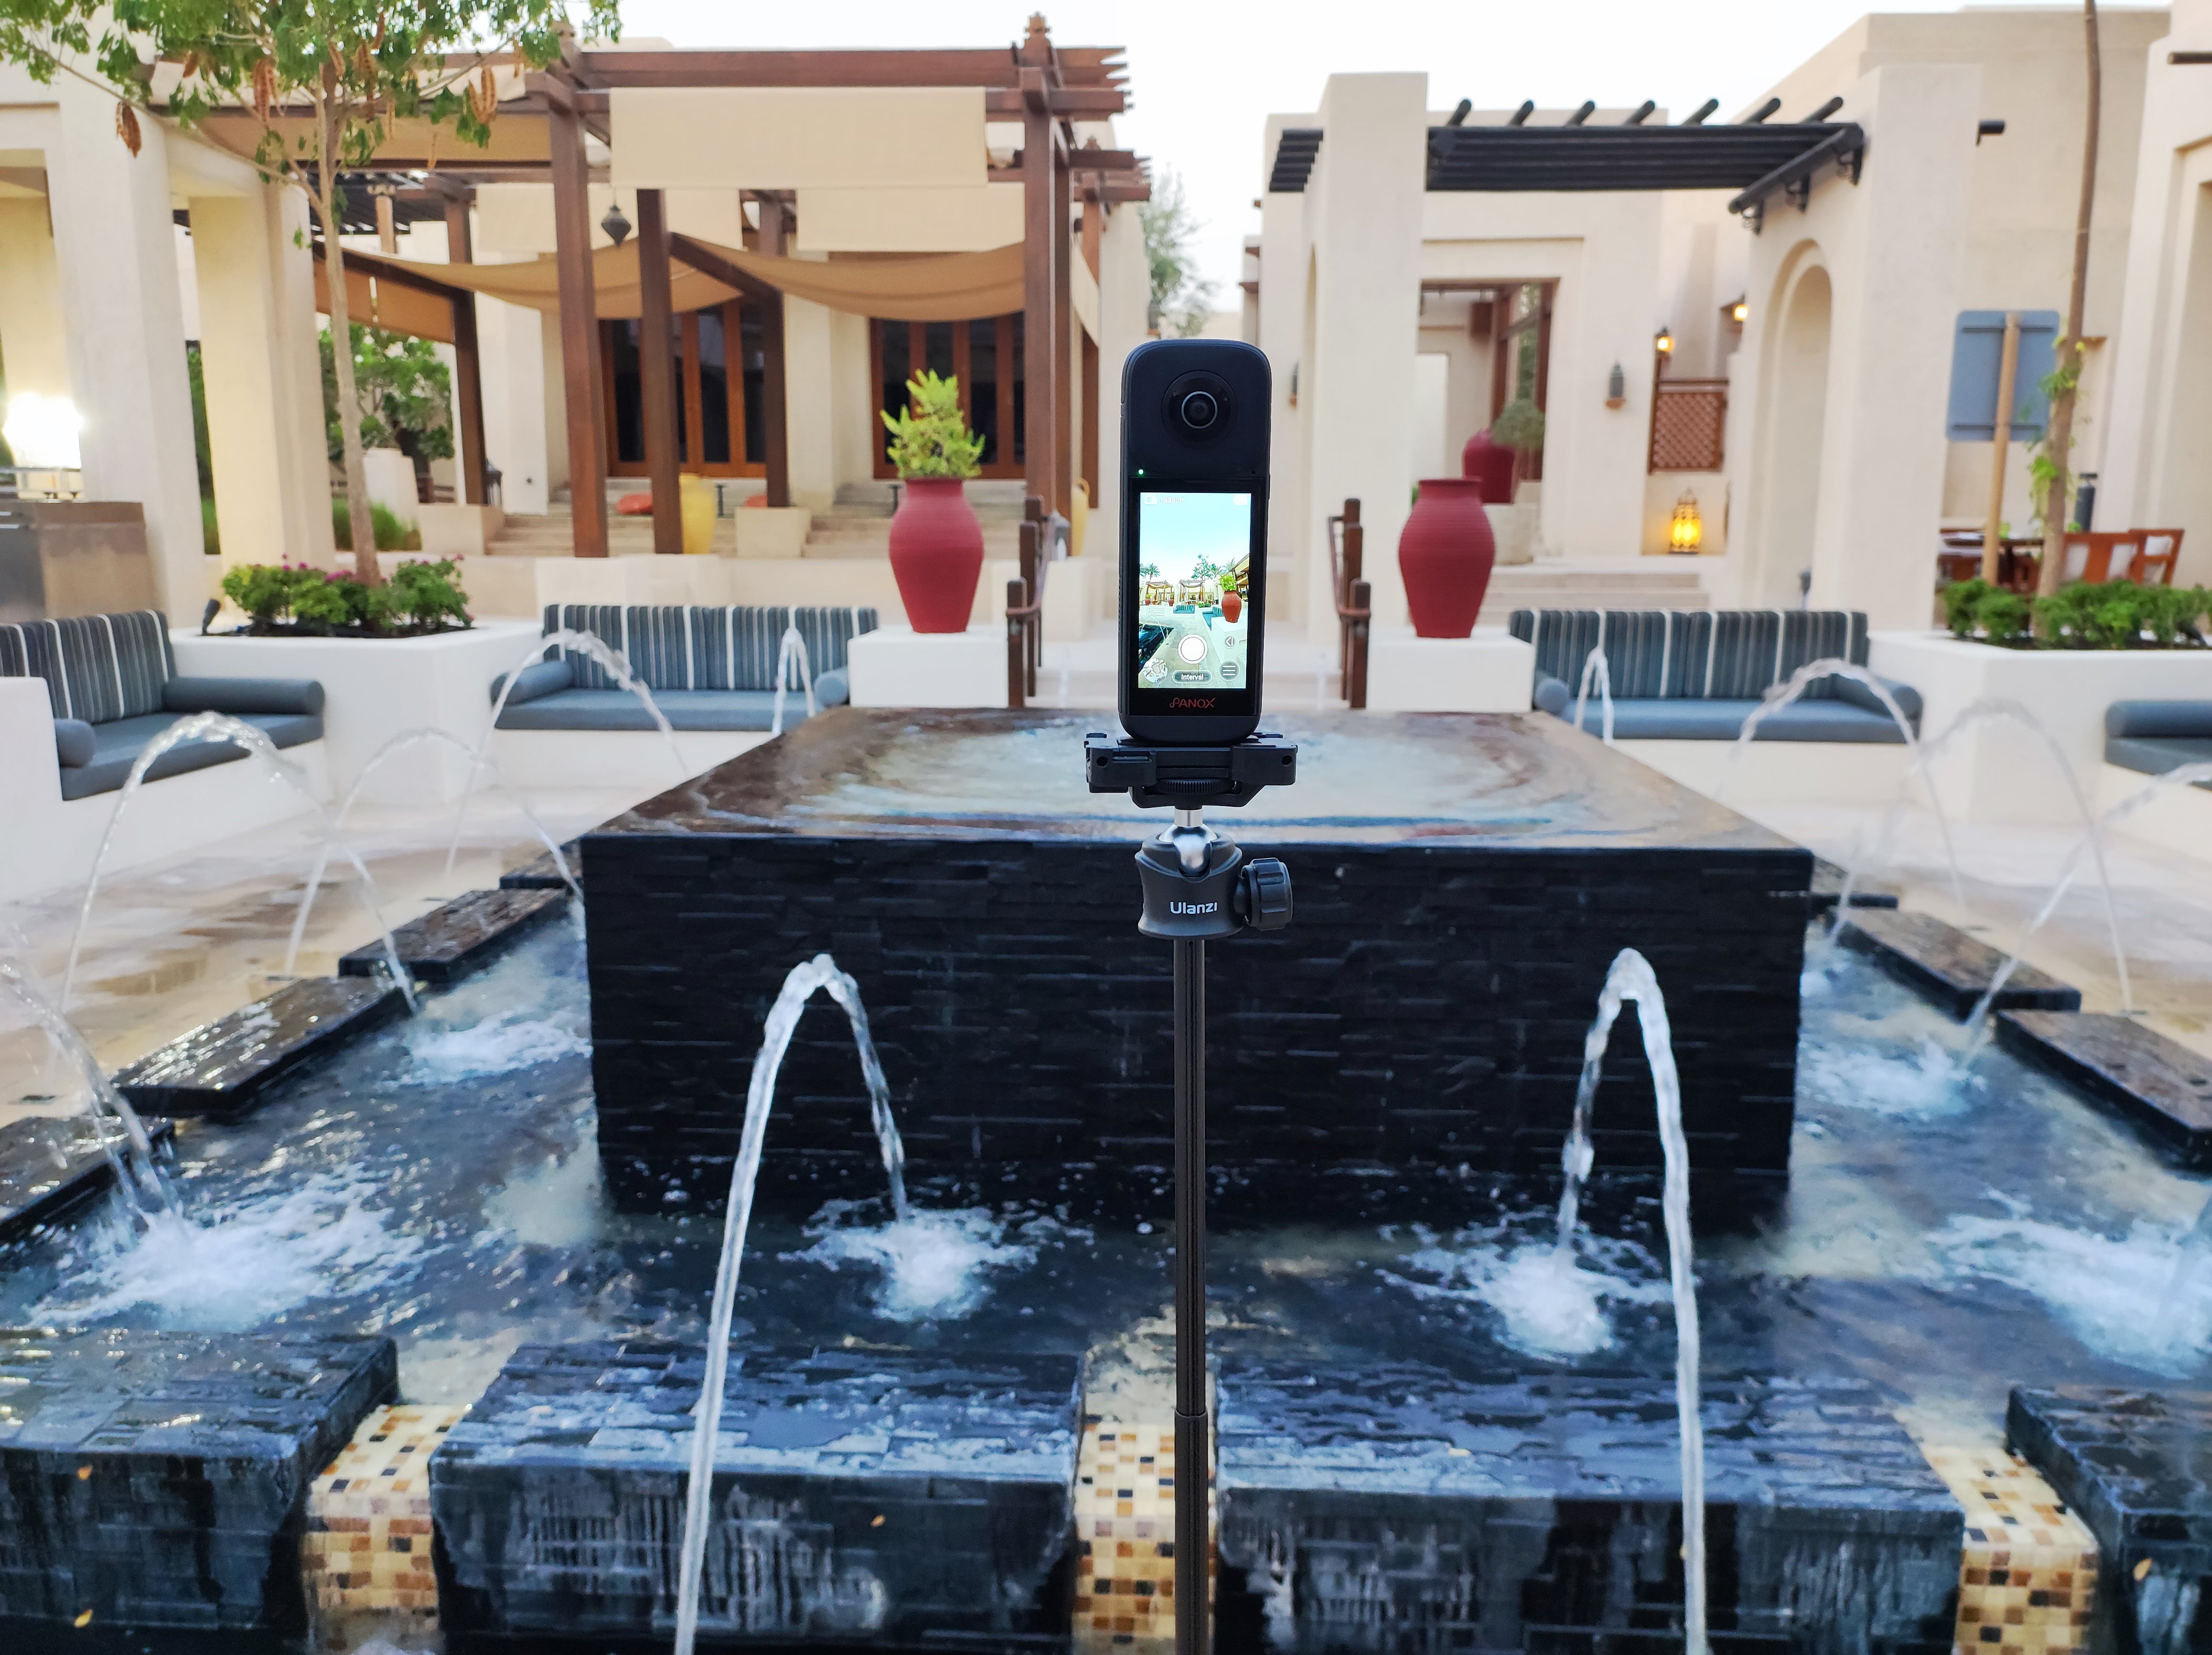
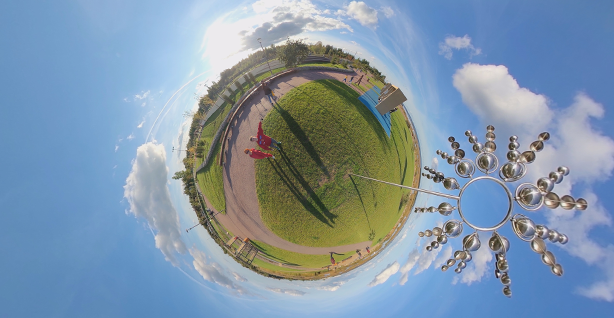
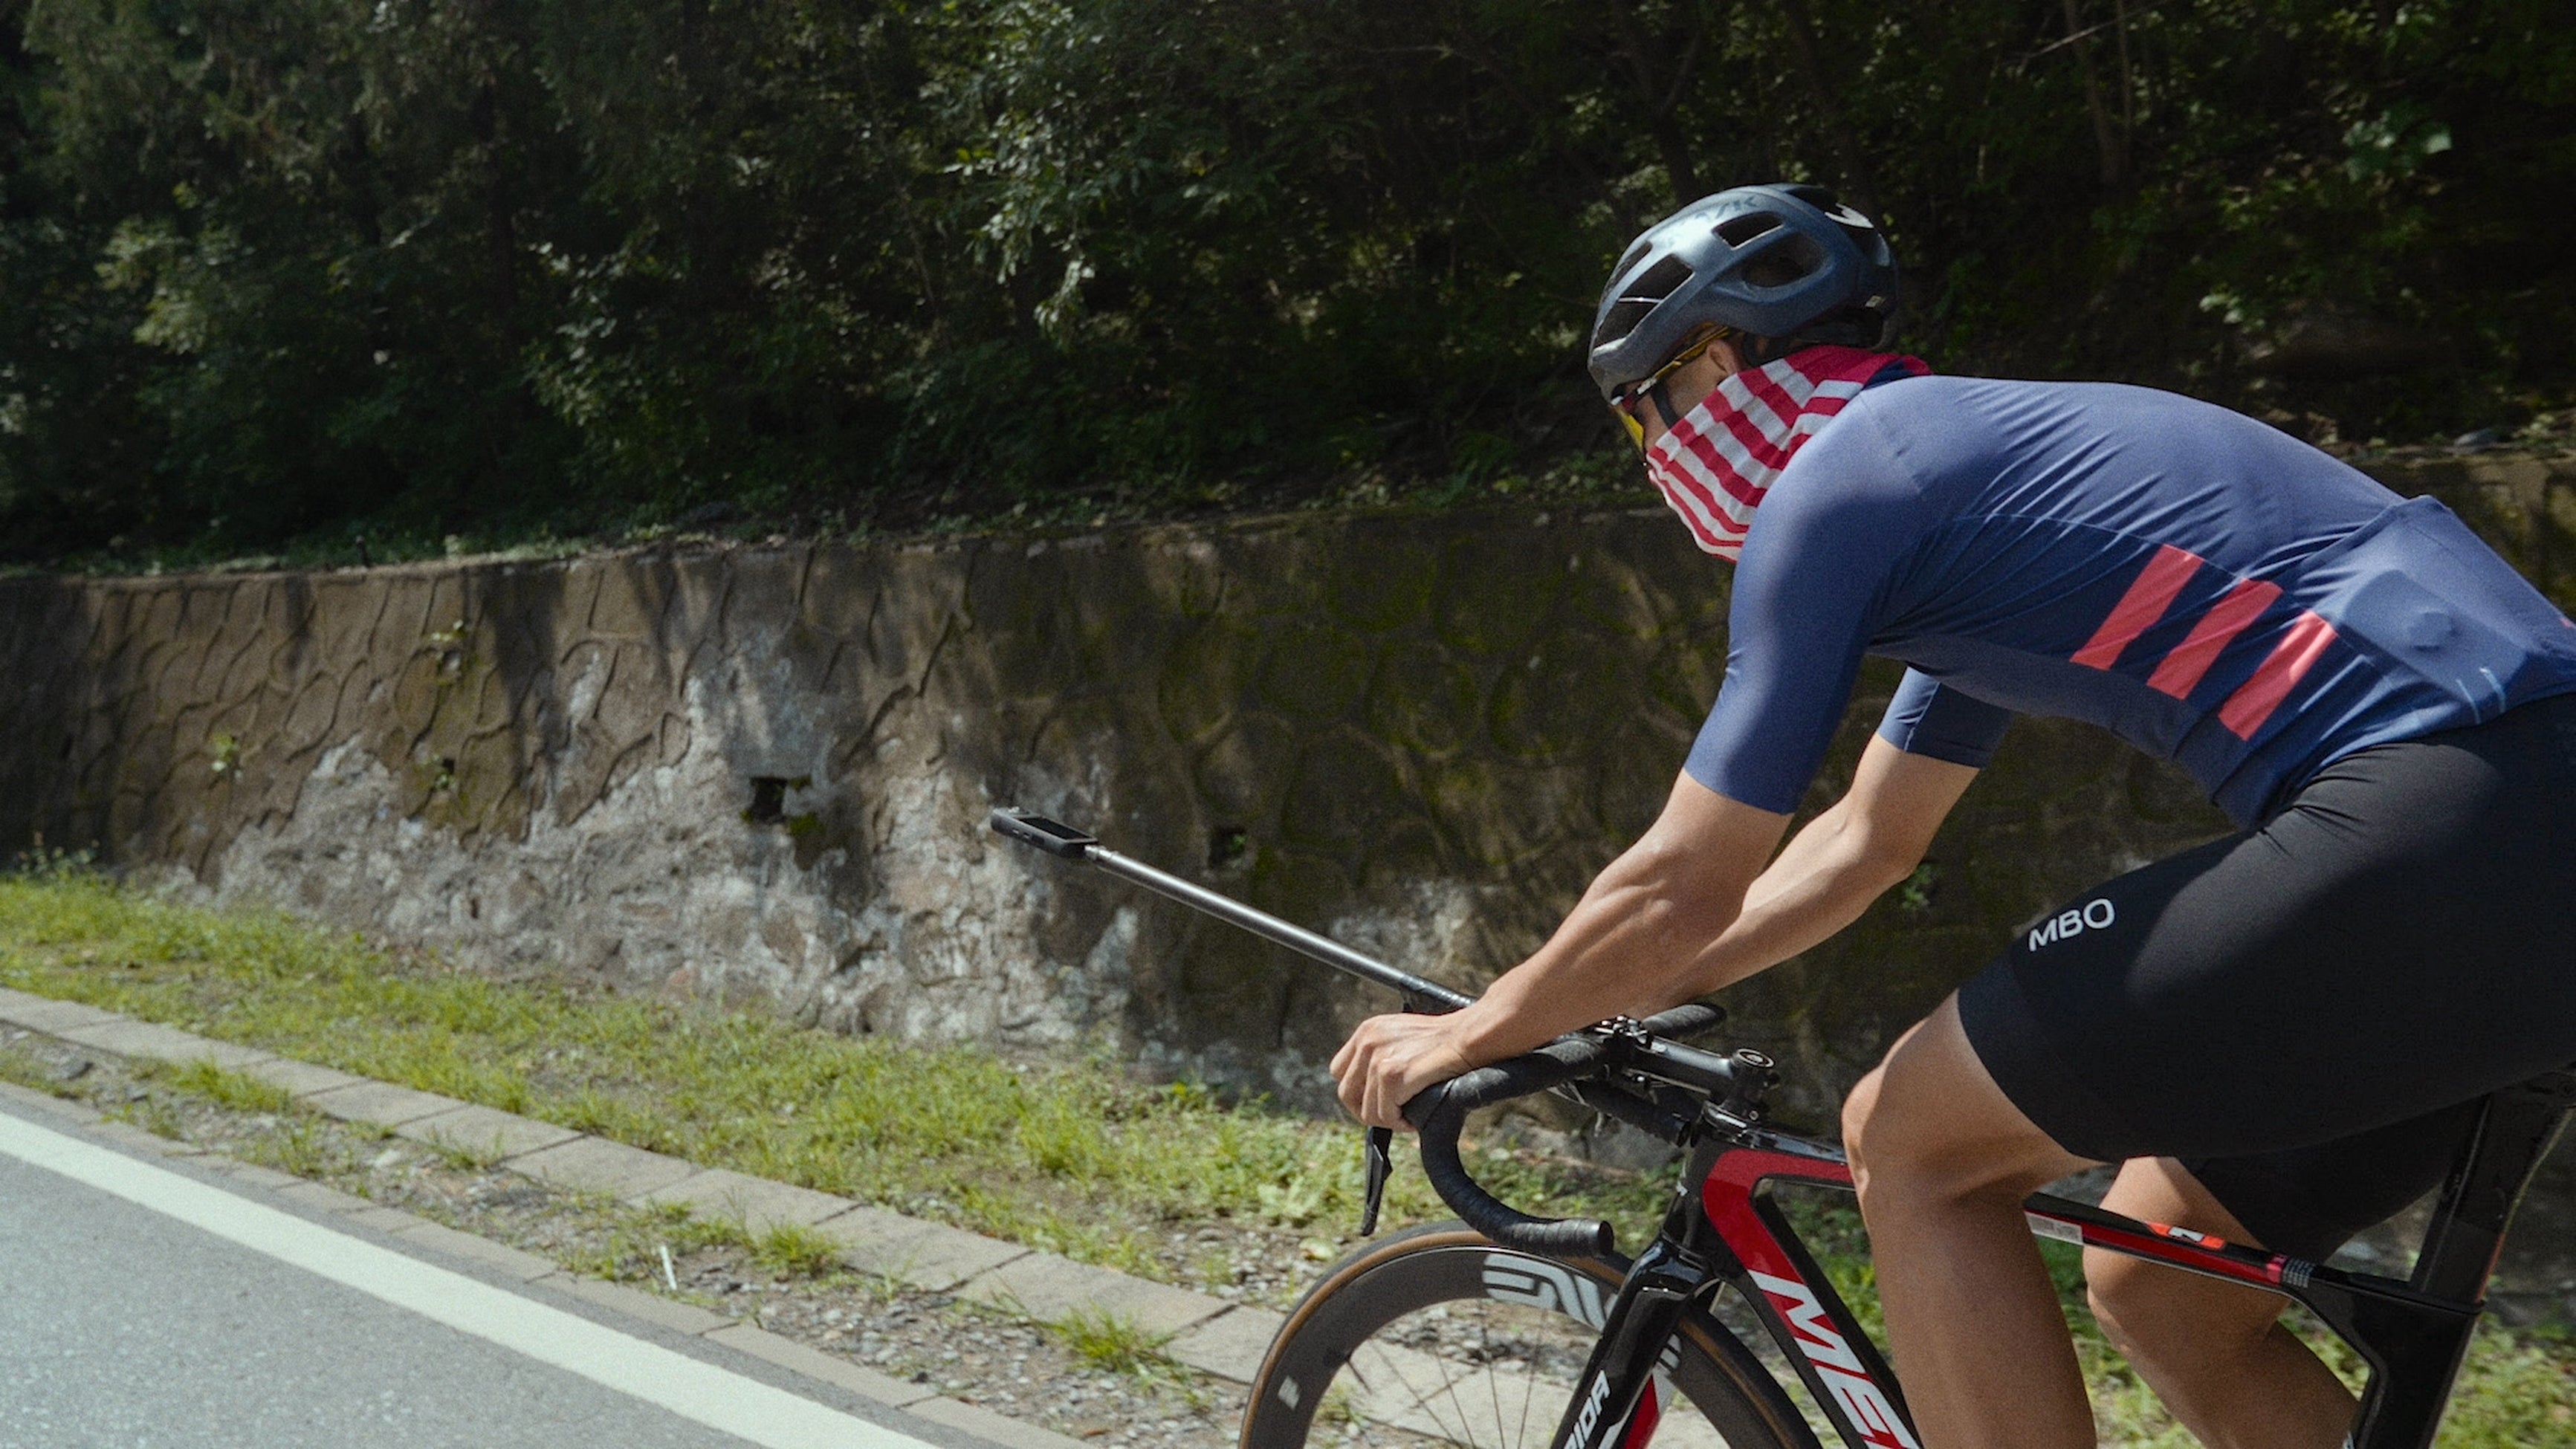
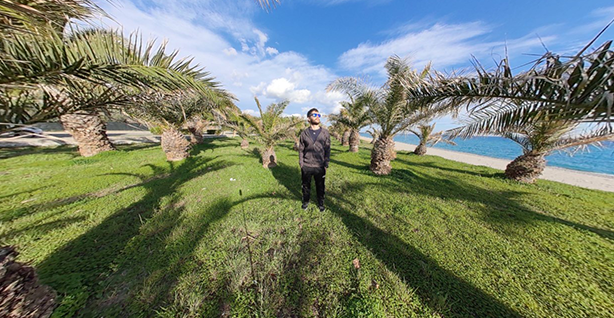
Welcome to the PanoX V2 tutorial, where we'll guide you through the process of capturing breathtaking 360° photos. Follow these simple steps to make the most of your PanoX V2 and create immersive panoramic images.
- Switching to 360° Photo Mode
Begin by turning on your PanoX V2 and navigating to the mode selection menu. Locate and select the "360° Photo" mode.
- Choosing Resolution
Once in 360° Photo mode, you have the option to choose the resolution for your photos. PanoX V2 offers three resolution settings: 5.7K, 12K, or 12K HDR. Select the resolution that suits your preferences and the level of detail you desire in your panoramic images.
- Adjusting Settings
Click on the arrow icon to reveal a menu with adjustable settings such as shutter speed, exposure compensation, and white balance. Take your time to fine-tune these parameters according to your shooting environment and creative vision.
Once you've adjusted the parameters to your satisfaction, you are ready to start capturing stunning 360° photos. Simply press the shutter button, and the PanoX V2 will seamlessly capture the panoramic scene.


Laisser un commentaire
Ce site est protégé par hCaptcha, et la Politique de confidentialité et les Conditions de service de hCaptcha s’appliquent.